Computing Mod 0 Part B: connecting to FRI and getting set up
Click on each part to show instructions.
Part B1: Setting up your SSH connection.
Part B2: Getting used to the Linux command line.
Part B3: Setting up your environmental variables and aliases.
Part B4: Test if you are set up properly.
Part B5: Practicing using the Vim editor.
B1: Setting up your SSH connection. (5 mins)
- First open MobaXterm, click on "Sessions" at the upper left corner.
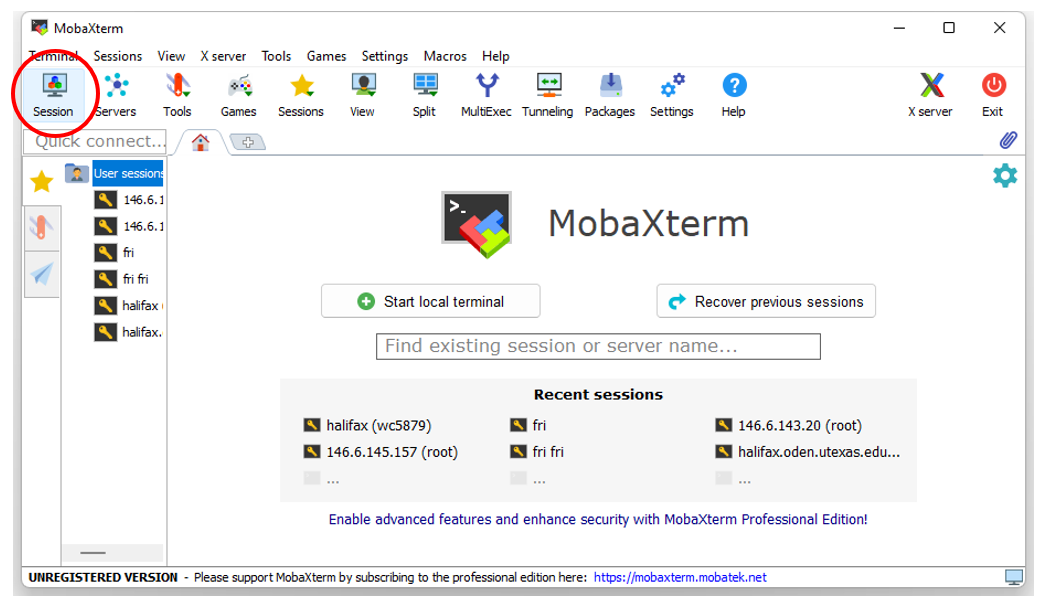
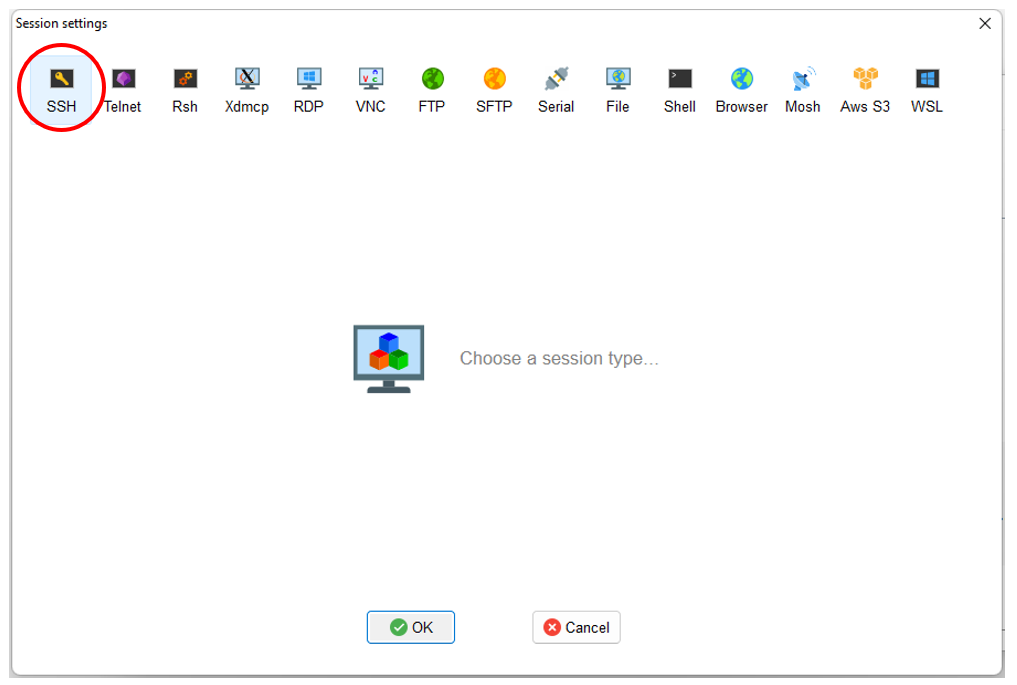
- Then Select "SSH"
- Enter Remote host address "fri.oden.utexas.edu"
- Check "Specify username" and enter your UT EID (your actual alphanumerical UT EID, not the string "your UT EID")
- Check "Use private key", and select the private key you created and saved earlier.
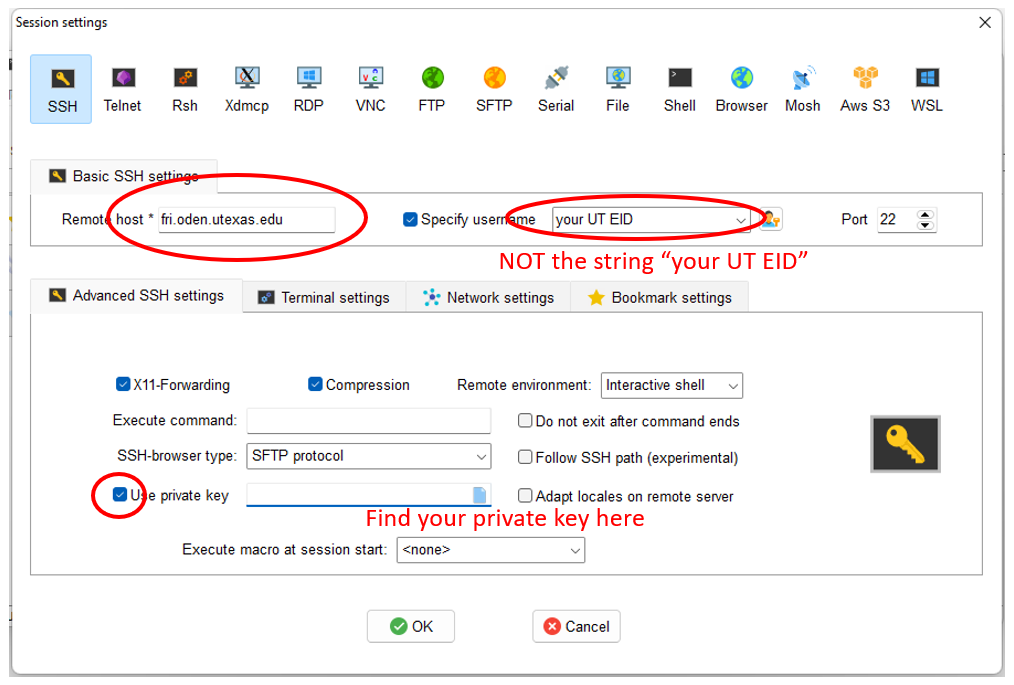
- Click OK and you should be connected. Your connection will now be saved under user sessions. In the future you can simply double click to connect.
- Simply open up a terminal and enter in the command line: ssh -YC youreid@fri.oden.utexas.edu. Note that "youreid" means your UT-EID in all lower case. For example, if your UT EID is tk421, then you should use commandssh -YC tk421@fri.oden.utexas.edu.
- When you are connecting for the first time, you'll be asked
"The authenticity of host 'fri.oden.utexas.edu (129.116.122.101)' can't be established. ED25519 key fingerprint is SHA256:3v+9IbPWLB/1Bp9HnghdC0RWmjqZde+22Y0oeXiLMTE.
This key is not known by any other names
Are you sure you want to continue connecting (yes/no/[fingerprint])?"
You can simply type yes and press enter.
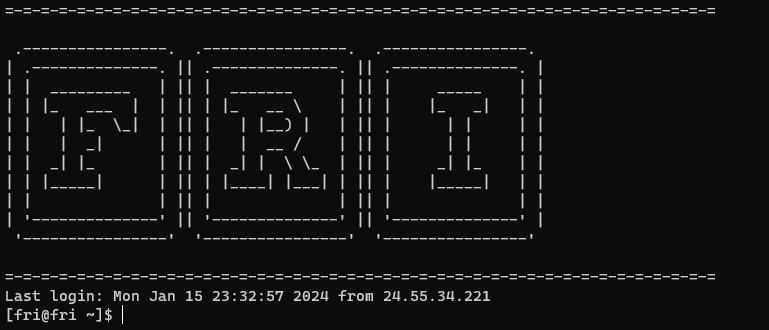
When you are connected, your screen should display this:
- This section is empty for now.
B2: Getting used to the Linux command line. (10 mins)
The terminal window is the output, or screen, of the Linux OS. As you can see, there is only text on the screen. We call OS like this non-GUI (non-graphic-user-interface) OS.
The ONLY input is the command line interface for non-GUI OS.
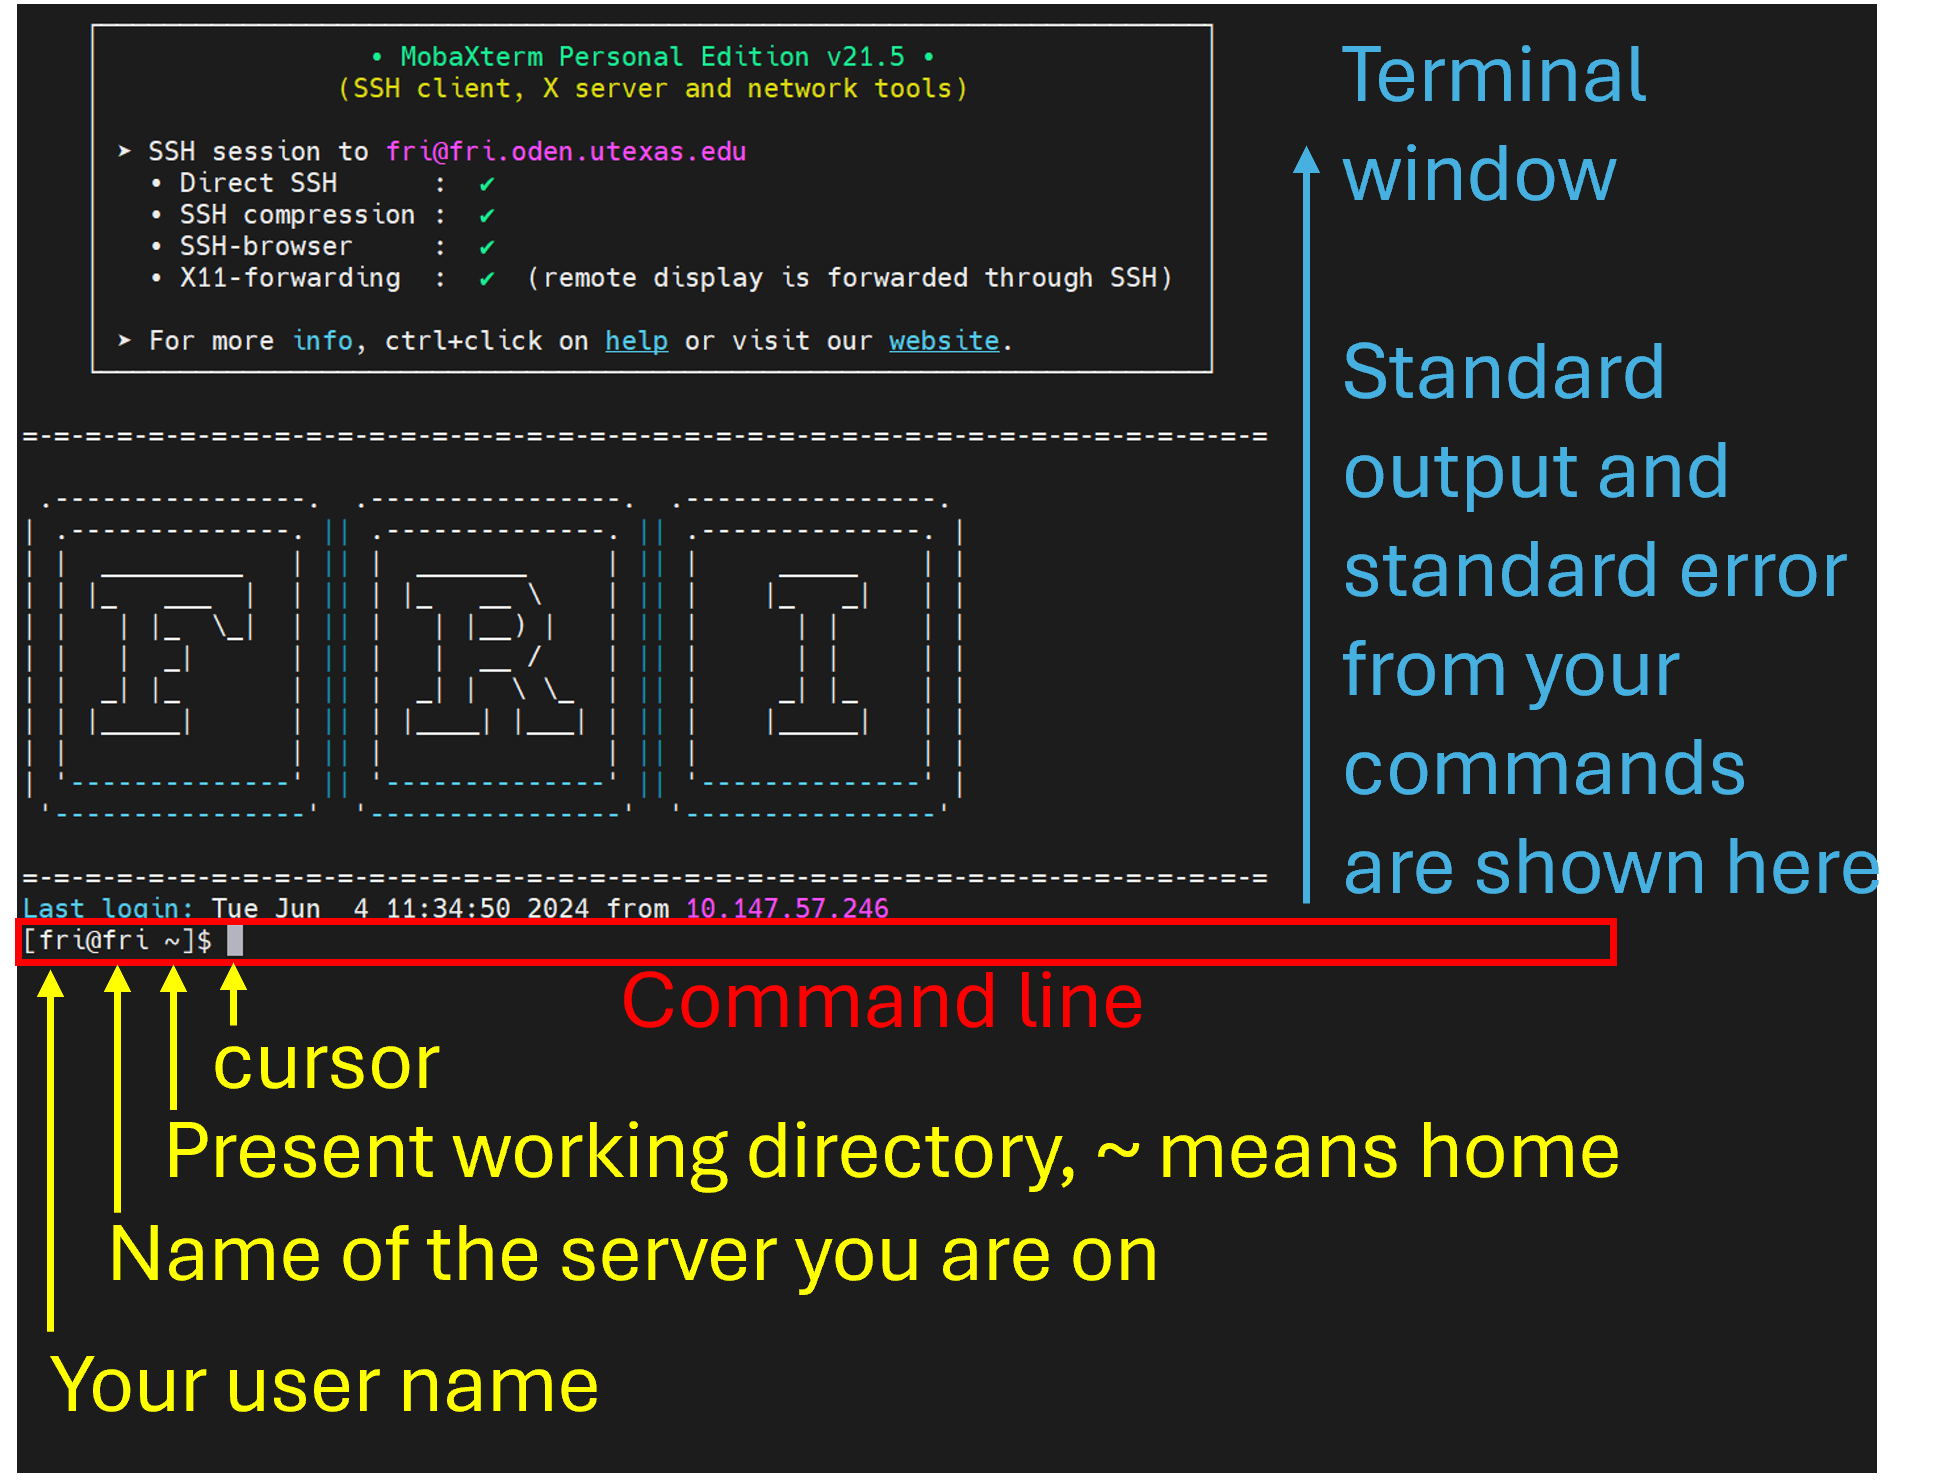
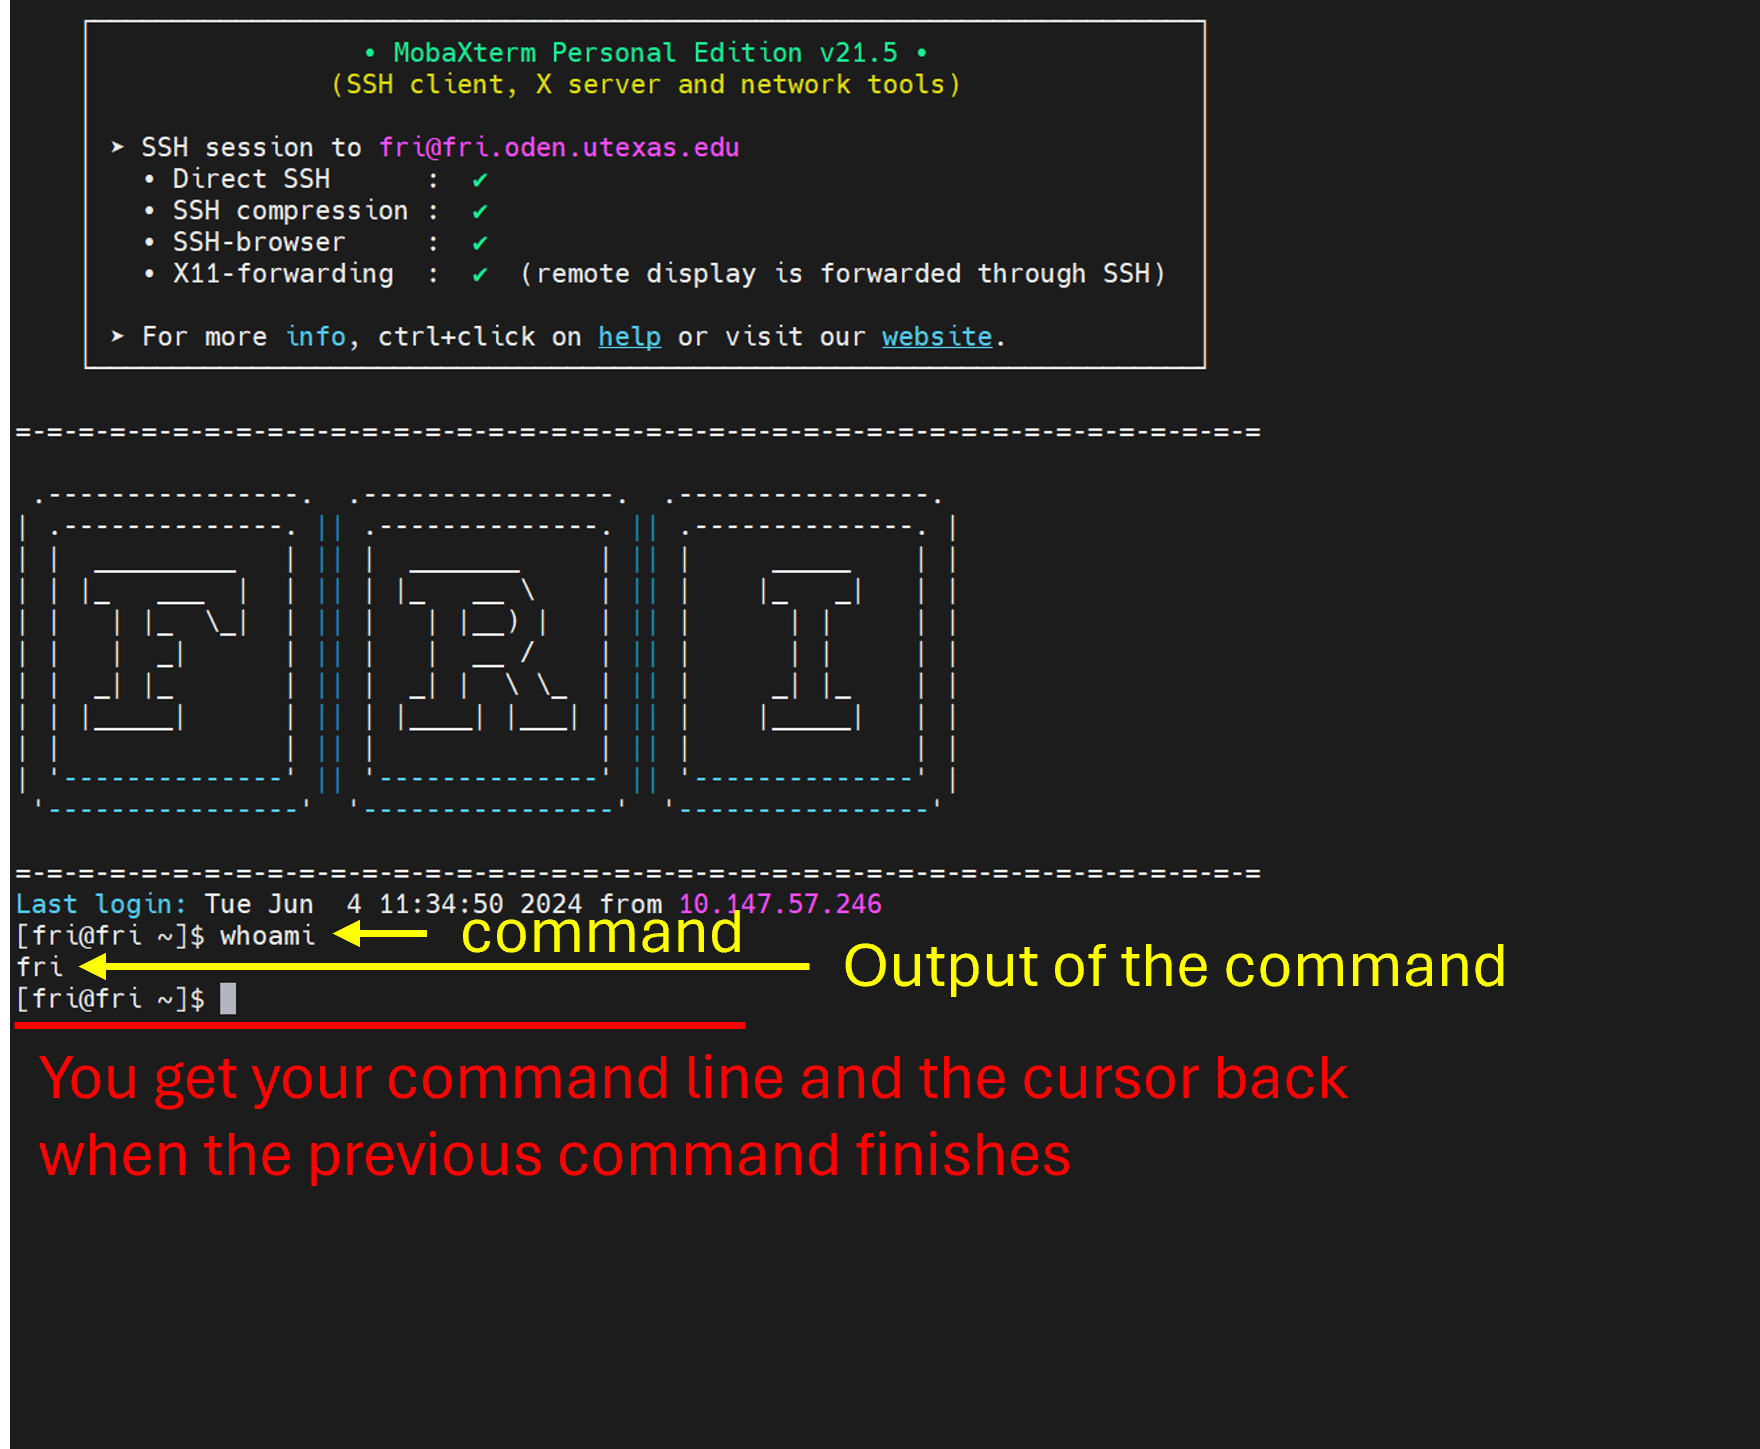
You interact with Linux through commands and their arguements. In the example below, the command is "whoami". This command doesn't take any arguments. It displays your username through the standard output. Note that with each new command, the output is printed below and previous output seemingly "roll upwards".
Here is a short list of essential concepts and commands to get started:
- Path.
Path is what we use to locate files (directories are special files), similar to how we locate places using addresses. All paths start from the highest level directory known as the root directory/. Under the root directory, there are other directories, such as the home directory, whose path is/home. Under the home directory are home directories of the users. For example, my username is "fri". So the path to my home directory is/home/fri. If I have a file called "temp" in my home directory, the path to that file is/home/fri/temp.
Since this path starts from the root directory, it is called the "absolute path". Alternatively, I can use a "relative path" , which is a path relative to my current working directory (my current position in the file system). When we log onto FRI, we always start at our home directories. The relative path../means the directory one level higher relative to where I am right now.
What should the absolute and relative path be for the directory one level higher than my current working directory when I'm at my home directory?The absolute path is/home. The relative path is../. - The present working directory command that prints your present working direcoty and takes no arguments.
pwd - The change directory command, which takes one argument. When no argument is given, it takes you back to your home directory.
cd $path_of_the_directory_you_are_going_to - The list command that shows files inside a directory. It takes the path to the directory as the argument. When no argument is provided, it displays files inside your present working directory.
ls $path_of_the_directory_you_want_to_see_the_content_of
- check out THIS PAGE to review a few commonly used linux commands.

This section is empty for now.
B3: Setting up your environmental variables and aliases. (5 mins)
- Since our FRI machine uses the Linux OS, to get started you should check out THIS PAGE to review a few commonly used linux commands.
- Given that your home directory can be reached through cd ~, how do you copy the file /home/fri/.bashrc (note that the file name is .bashrc and the "dot" is part of the file name.) to your home directory? See if you can figure it out for yourself and copy it to your home directory.
- There is another file. The file name is ".vimrc" and it's located at the same directory as the ".bashrc" file. Copy it to your home directory.
B4: Test if you are set up properly. (5 mins)
- To test if you successfully copied over the ".bashrc" file, run command source ~/.bashrcthen run commandwhich ag. If the output is:
alias ag='ase gui'
/opt/ohpc/pub/libs/python3-core/3.11.1/bin/ase
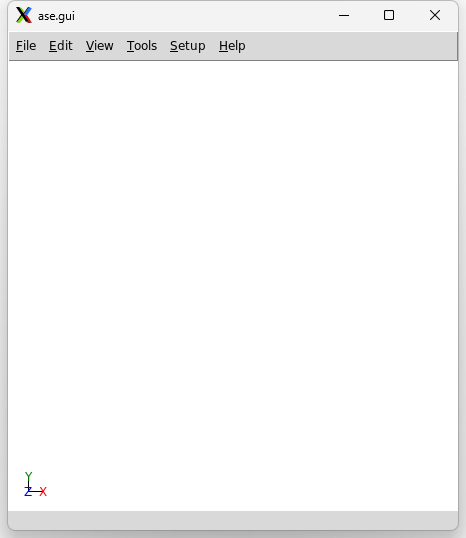
You have successfully copied over .basrc. - To test if your X-forwarding is running properly, run the command ag. If your X forwarding is working, you should see this window.
cp .bashrc ~
cp .vimrc ~
B5: Practicing using the Vim editor. (5 mins)
Give a monkey vim and infinite time, it would write a poem before being able to exit vim.Just like us needing a text editor in Windows (MS word) and Mac (Pages) to write anything, we need the Linux text editor, Vim. We will practice using Vim in this section.
- Have the Vim cheat sheet ready. You do not want to be stuck in Vim.
- vim is command. To create a new file called "new_text_file", use the command vim new_text_file. This is what you should see:
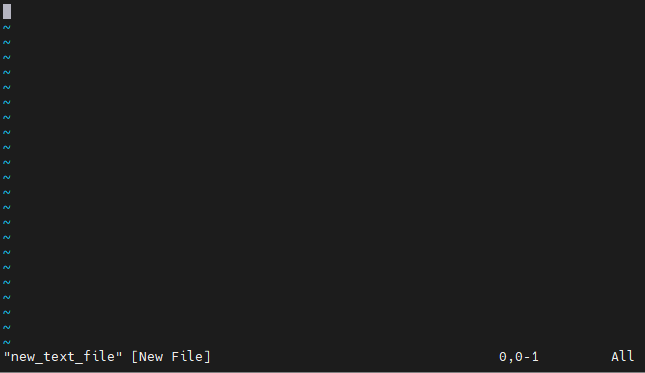
The very bottom line is called the "status line". Right now it tells that we just created a new file called "new_text_file".
Right now, we are not in an editing mode such as the insert mode or the replace mode, so we are not editing the file. Try pressing random keys. Unless you are getting lucky, nothing would happen on the screen. This mode is called the "normal mode" where vim is ready to receive commands. - In order to write in the file, we need to enter an editing mode. We will start with the insert mode. We do so by pressing "i" or "a" while in normal mode. You should see stat the status line changes.
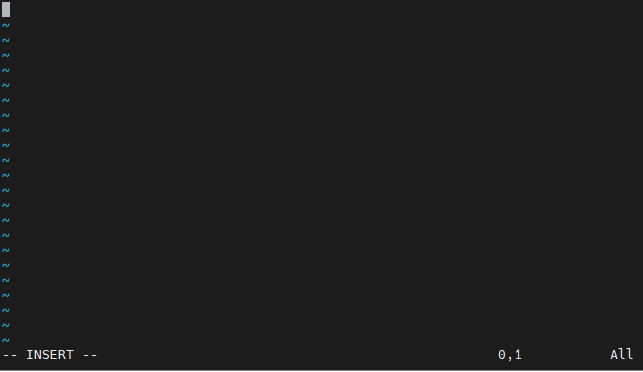
Now we are ready to write. - When we are done with editing,
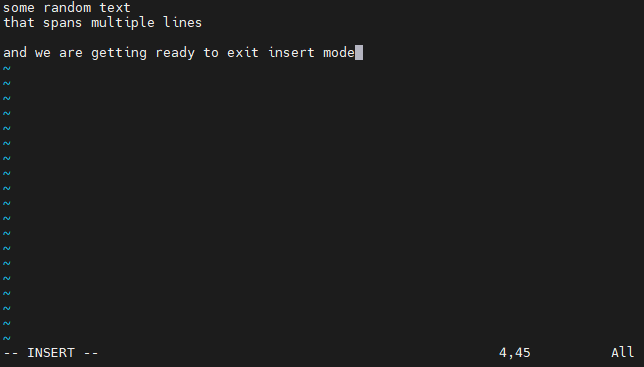
to exit insert mode we press the "esc" key and we will be in normal mode again.
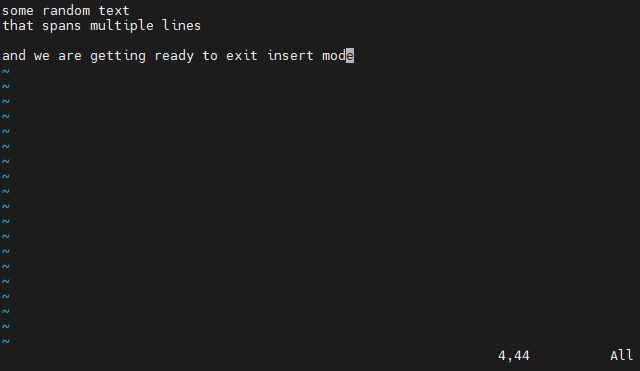
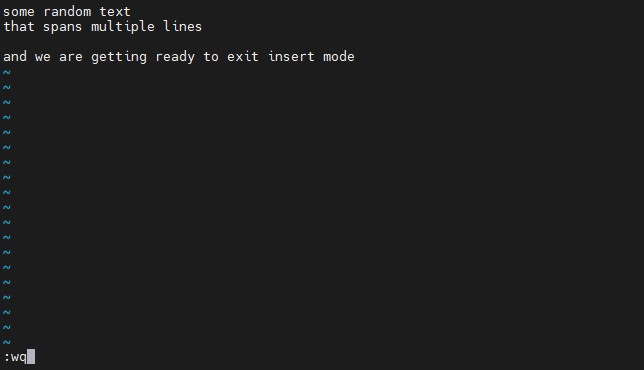
To save the edits and exit the vim editor, we, while in normal mode, use the command:wq
